How to Use Figma for Web Design: A Beginner’s Guide
.jpg)
TABLE OF CONTENTS
.jpg)
In this guide, we’re diving into the basics of how to use Figma for web design, step by step. Whether you’re sketching out your first layout or refining details, this guide will help you bring your ideas to life.
Starting a new website design can feel exciting—and just a little overwhelming. But when you’ve got the right tools, the process turns into something you can actually enjoy. Enter Figma, a design platform that’s made waves for being intuitive, flexible, and perfect for creating all sorts of web designs.
{{WEB_BANNER="/dev/components"}}
What is Figma?
Is Figma good for web design? The short answer is yes. It’s an incredibly versatile tool that’s great for teams and solo designers alike.
Figma is a powerful online design tool that helps you create everything from simple wireframes to polished website designs. It’s packed with features like reusable components, prototyping tools, and a clean interface that makes designing feel almost effortless.
Designed for collaboration, Figma lets you work with teammates in real time by streamlining feedback and updates.
How to use Figma for Web Design
For this beginner’s guide for using Figma for web design, we’re going to cover the basics. From the start, we’re going to assume that you’re already signed up and logged in. Once that’s done, the first step is going to be to create a new project.
Step 1: Create a new project
Figma web design starts by creating a new project. First, click Create New Team on the left, name your team, and invite collaborators. Once your team is ready, go to the team page and click New Project in the top right.

Next, click New Design file in your project to open a blank canvas. Rename the default “Untitled” file to something meaningful, and you’re ready to design!
Step 2: Creating new frames
To create a new frame, open your design file and select the hashtag icon in the top left corner. Alternatively, press the F key on your keyboard for a quick shortcut.

After your frame is in place, you can adjust screen sizes and properties in the Design panel on the right. Here, you can change the frame’s dimensions, apply a fill color, or adjust other settings to match your design needs.
Every time you add a new element, like a shape or an image, it will appear as a new layer in the Layers panel on the left. You can easily move layers around by dragging them, or group them together for better organization by selecting multiple elements and pressing Ctrl+G (Windows) or CMD+G (Mac).
For frame shapes, you can choose from simple ones like rectangles and circles using the shape icon at the top. Or, for more complex designs like icons or logos, use the Pen tool (press P on your keyboard). Click anywhere on the frame to start drawing, and fine-tune your design in the Properties panel on the right.

Step 3: Inserting elements (images, text, etc.)
Now that your frame is set, it’s time to start adding elements. There are a few simple ways to insert images into your frame—one of the easiest is just dragging and dropping the image file right onto the canvas.
If dragging isn’t your style, click the Shape menu at the top and select Place image. You can also insert custom videos. A dialog box will pop up where you can choose the images you want. Hit OK, and your image is in. You can also open this dialog with the shortcut CMD+Shift+K (Mac) or Ctrl+Shift+K (Windows).
What if you want an image inside a specific shape? No problem. Click the shape or frame, head to the Fill section in the right-hand properties panel, and select Image or Video from the dropdown. From there, click Choose Image, pick your file, and hit Open to place it right inside your shape. You can even tweak the image’s properties if needed, like adjusting the positioning or size.

Finally, adding text is as simple as clicking the T icon, drawing a text box on your frame, and starting to type. You can edit your text by double-clicking it or using the Properties panel on the right to adjust the font, color, size, and more.
Just a heads up: You can save styles based on your preferences. This is a must in order to avoid redoing the same process over and over again. For example, you can save heading fonts, colors, and sizes to have quick access to a uniform H2 from the top to the bottom of the page.
Step 4: Adding UI elements
A well-organized UI can make all the difference in your design, and Figma as a UI design tool gives you everything you need to stay neat and consistent. One of the best ways to do this is by using components—essentially reusable elements like CTA buttons, logos, or navigation bars that you can use across your design.
Let’s say you want your brand logo and name to appear on every page of your Figma website. Instead of adding them manually to each frame, you can group these elements into a component called ‘Brand Logo.’ From there, you can easily drag and drop it into other frames as needed.
Here’s how to create a component:
- Select the elements you want to group together and hold Shift to select multiple layers.
- Click the Component icon (the diamond shape) at the top of the page, and your layers will combine into a single component called ‘Component 1.’ You can rename it by double-clicking on the name.

Once your component is created, you can make instances of it—essentially copies of your component that can be placed and edited across your design. To do this, open the Assets panel (next to Layers), drag your component to the canvas, and voilà! Now you have an editable instance that won’t affect the original component.
Step 5: Testing the prototype
Once your design is all lined up, it’s time to test it out and make sure everything flows smoothly. Whether it’s a mobile app, a landing page, or a website, Figma lets you test the user experience in real time to see how it feels for your users.
To start testing, head to the Properties panel on the right side of the screen and click on the Prototype tab at the top. You’ll then see options to select the device type for your preview, which should already match the frame you created, if you’ve set that up.
Click the + sign next to Flow starting point to designate where the user journey begins. Figma will add a Flow 1 label at the top left of your frame to mark the starting point.

Next, you’ll add hotspots—the clickable areas that guide users to the next page. Hover over an element on your frame, and you’ll see a blue circle pop up. When you click on it, a + sign appears. Drag that hotspot to connect it to the next screen, and a panel will open where you can set interaction details, like On tap to trigger the action when clicked.
You can also choose an animation to smooth out the transition between screens. Once you’ve linked up your screens, hit the Play button at the top right to preview your design. This will give you a feel for how the user journey works.
If everything looks good, invite your team or stakeholders to collaborate, and you’re all set! Testing is a key step in refining your design, so make sure you test, tweak, and test again.
Skip the DIY: A better way to design a website
Using Figma for web design is pretty straightforward, but only if you have design experience and are hyper-familiar with the platform. What’s mentioned above is just the basics, and even then, each step is very simplified.
Is Figma good for web design? Absolutely! But, if you’re looking to design a website quickly, then Figma is probably not your best bet. Instead, consider specialized design services like ManyPixels.
For just under $1,000, you can have your website designed in Figma, so you get unlimited use of the collaboration features that we mentioned above. See the work in real time and provide on-page feedback, all without having to create components and wireframes yourself.
ManyPixels offers a simple Figma to Webflow service that will have your website designed and up and running in no time. No design skills required.
Ready to get started? Schedule a free 1:1 demo today.

Top-quality designers
A complete creative team at your fingertips: graphic and web designers, illustrators, and more.

Lightning-fast turnaround
Get start today and receive your first update on the next business day.

All-inclusive pricing
Unlimited requests and revisions. One flat monthly fee. No surprises.

Flexible & scalable model
No contract. Scale up and down as needed. Pause or cancel at anytime.

Continue reading
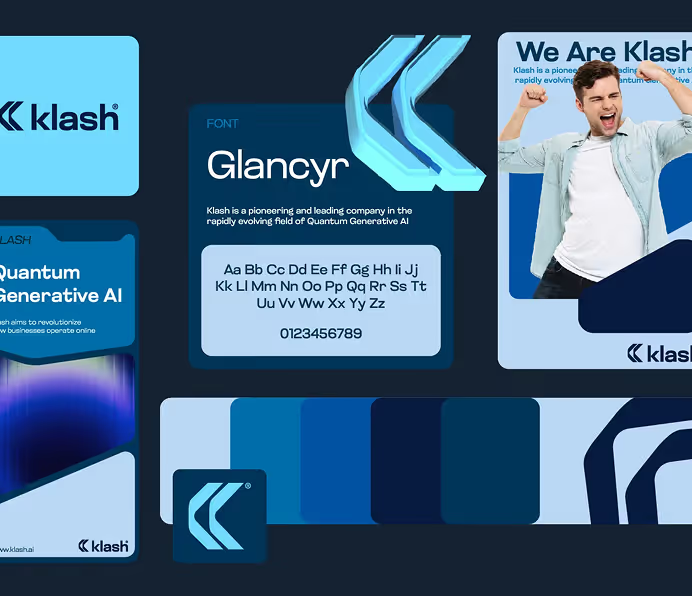
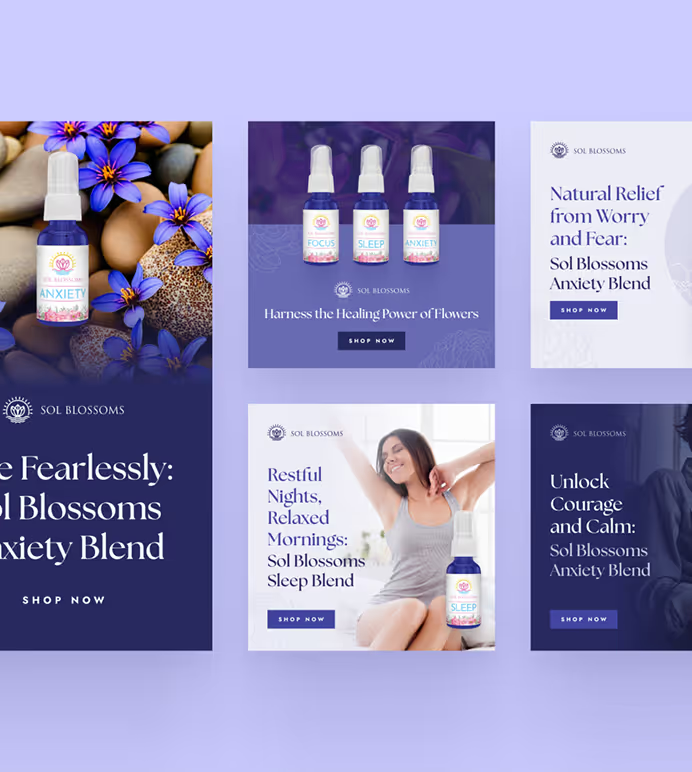
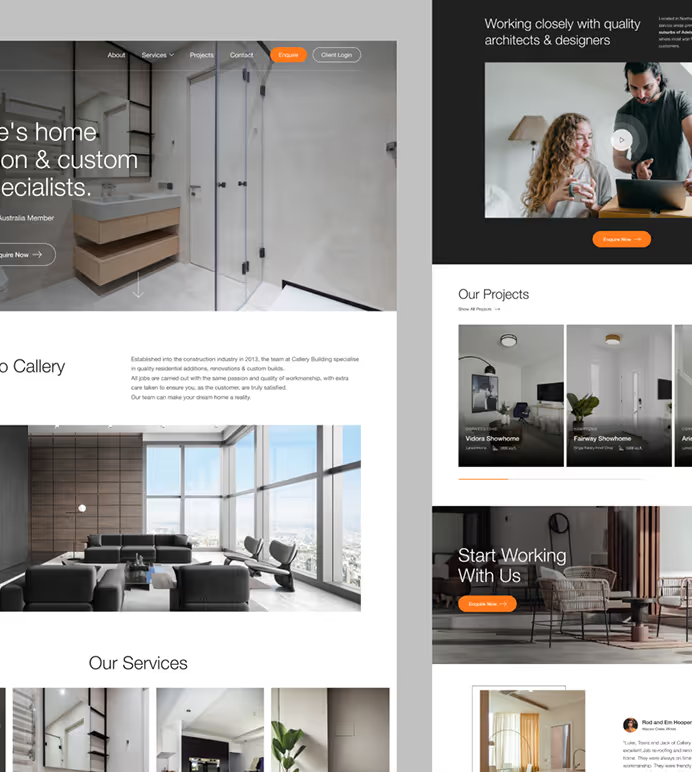
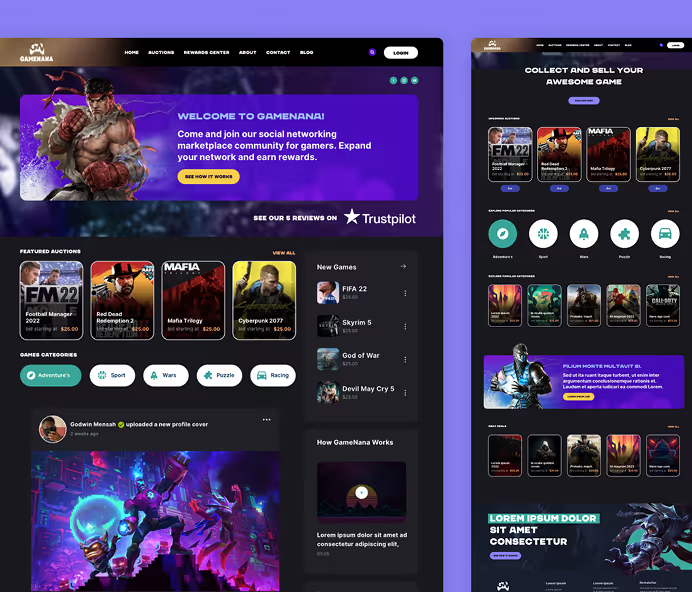
Explore some of our best designs
Get inspired by a curated selection of ManyPixels work. Download the portfolio to see what our team can create.








.jpg)
.jpg)
.jpg)