Creating the Perfect YouTube Thumbnail (Size, Image Formats and Design Tips)
Learn about YouTube thumbnails sizes, ratios, formats, and enabling custom YouTube images on your channel.

.svg)
Table of Contents

Thumbnails are the first impression you have of a YouTube video. Since it’s a visual platform with millions of creators and an amazing marketing tactic, you need a good thumbnail to get those clicks flowing to your channel. Here’s how.
Youtube thumbnail is the preview image of any video uploaded on the platform. Since YT is a huge database of videos, your thumbnail needs to help your video stand out and a custom thumbnail by far outperforms an automatically generated one (90% of top videos have custom thumbnails).
It’s pretty simple to create a unique one to match your content with this guide.
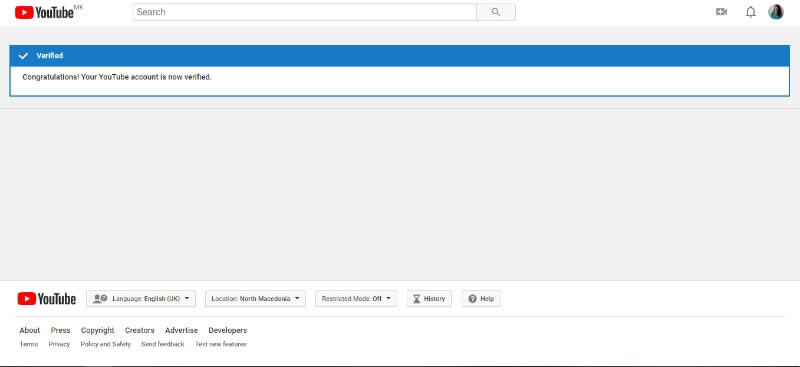
Step 5: Click “Verify”. Go through all the steps, like setting up two-step verification, choosing your country and phone number. Click Submit and your account is now verified!
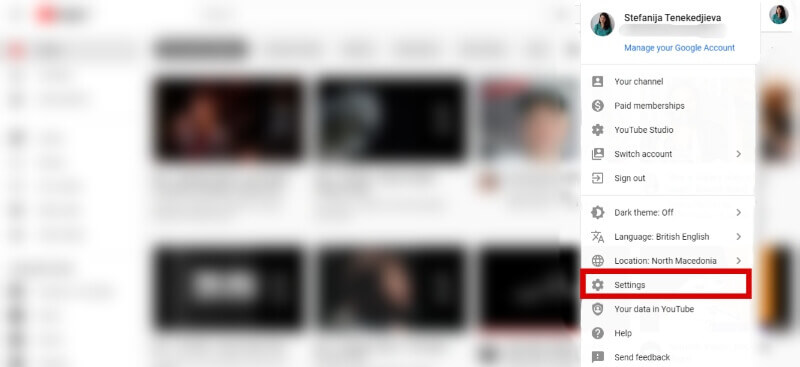
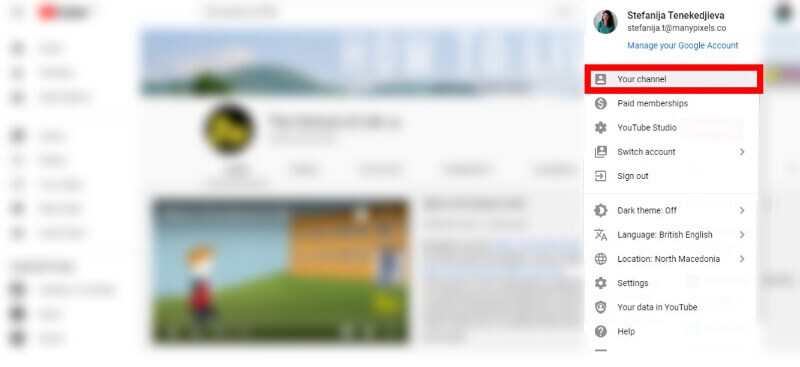
Step 3: After a drop-down menu shows up, choose the “Settings” option.
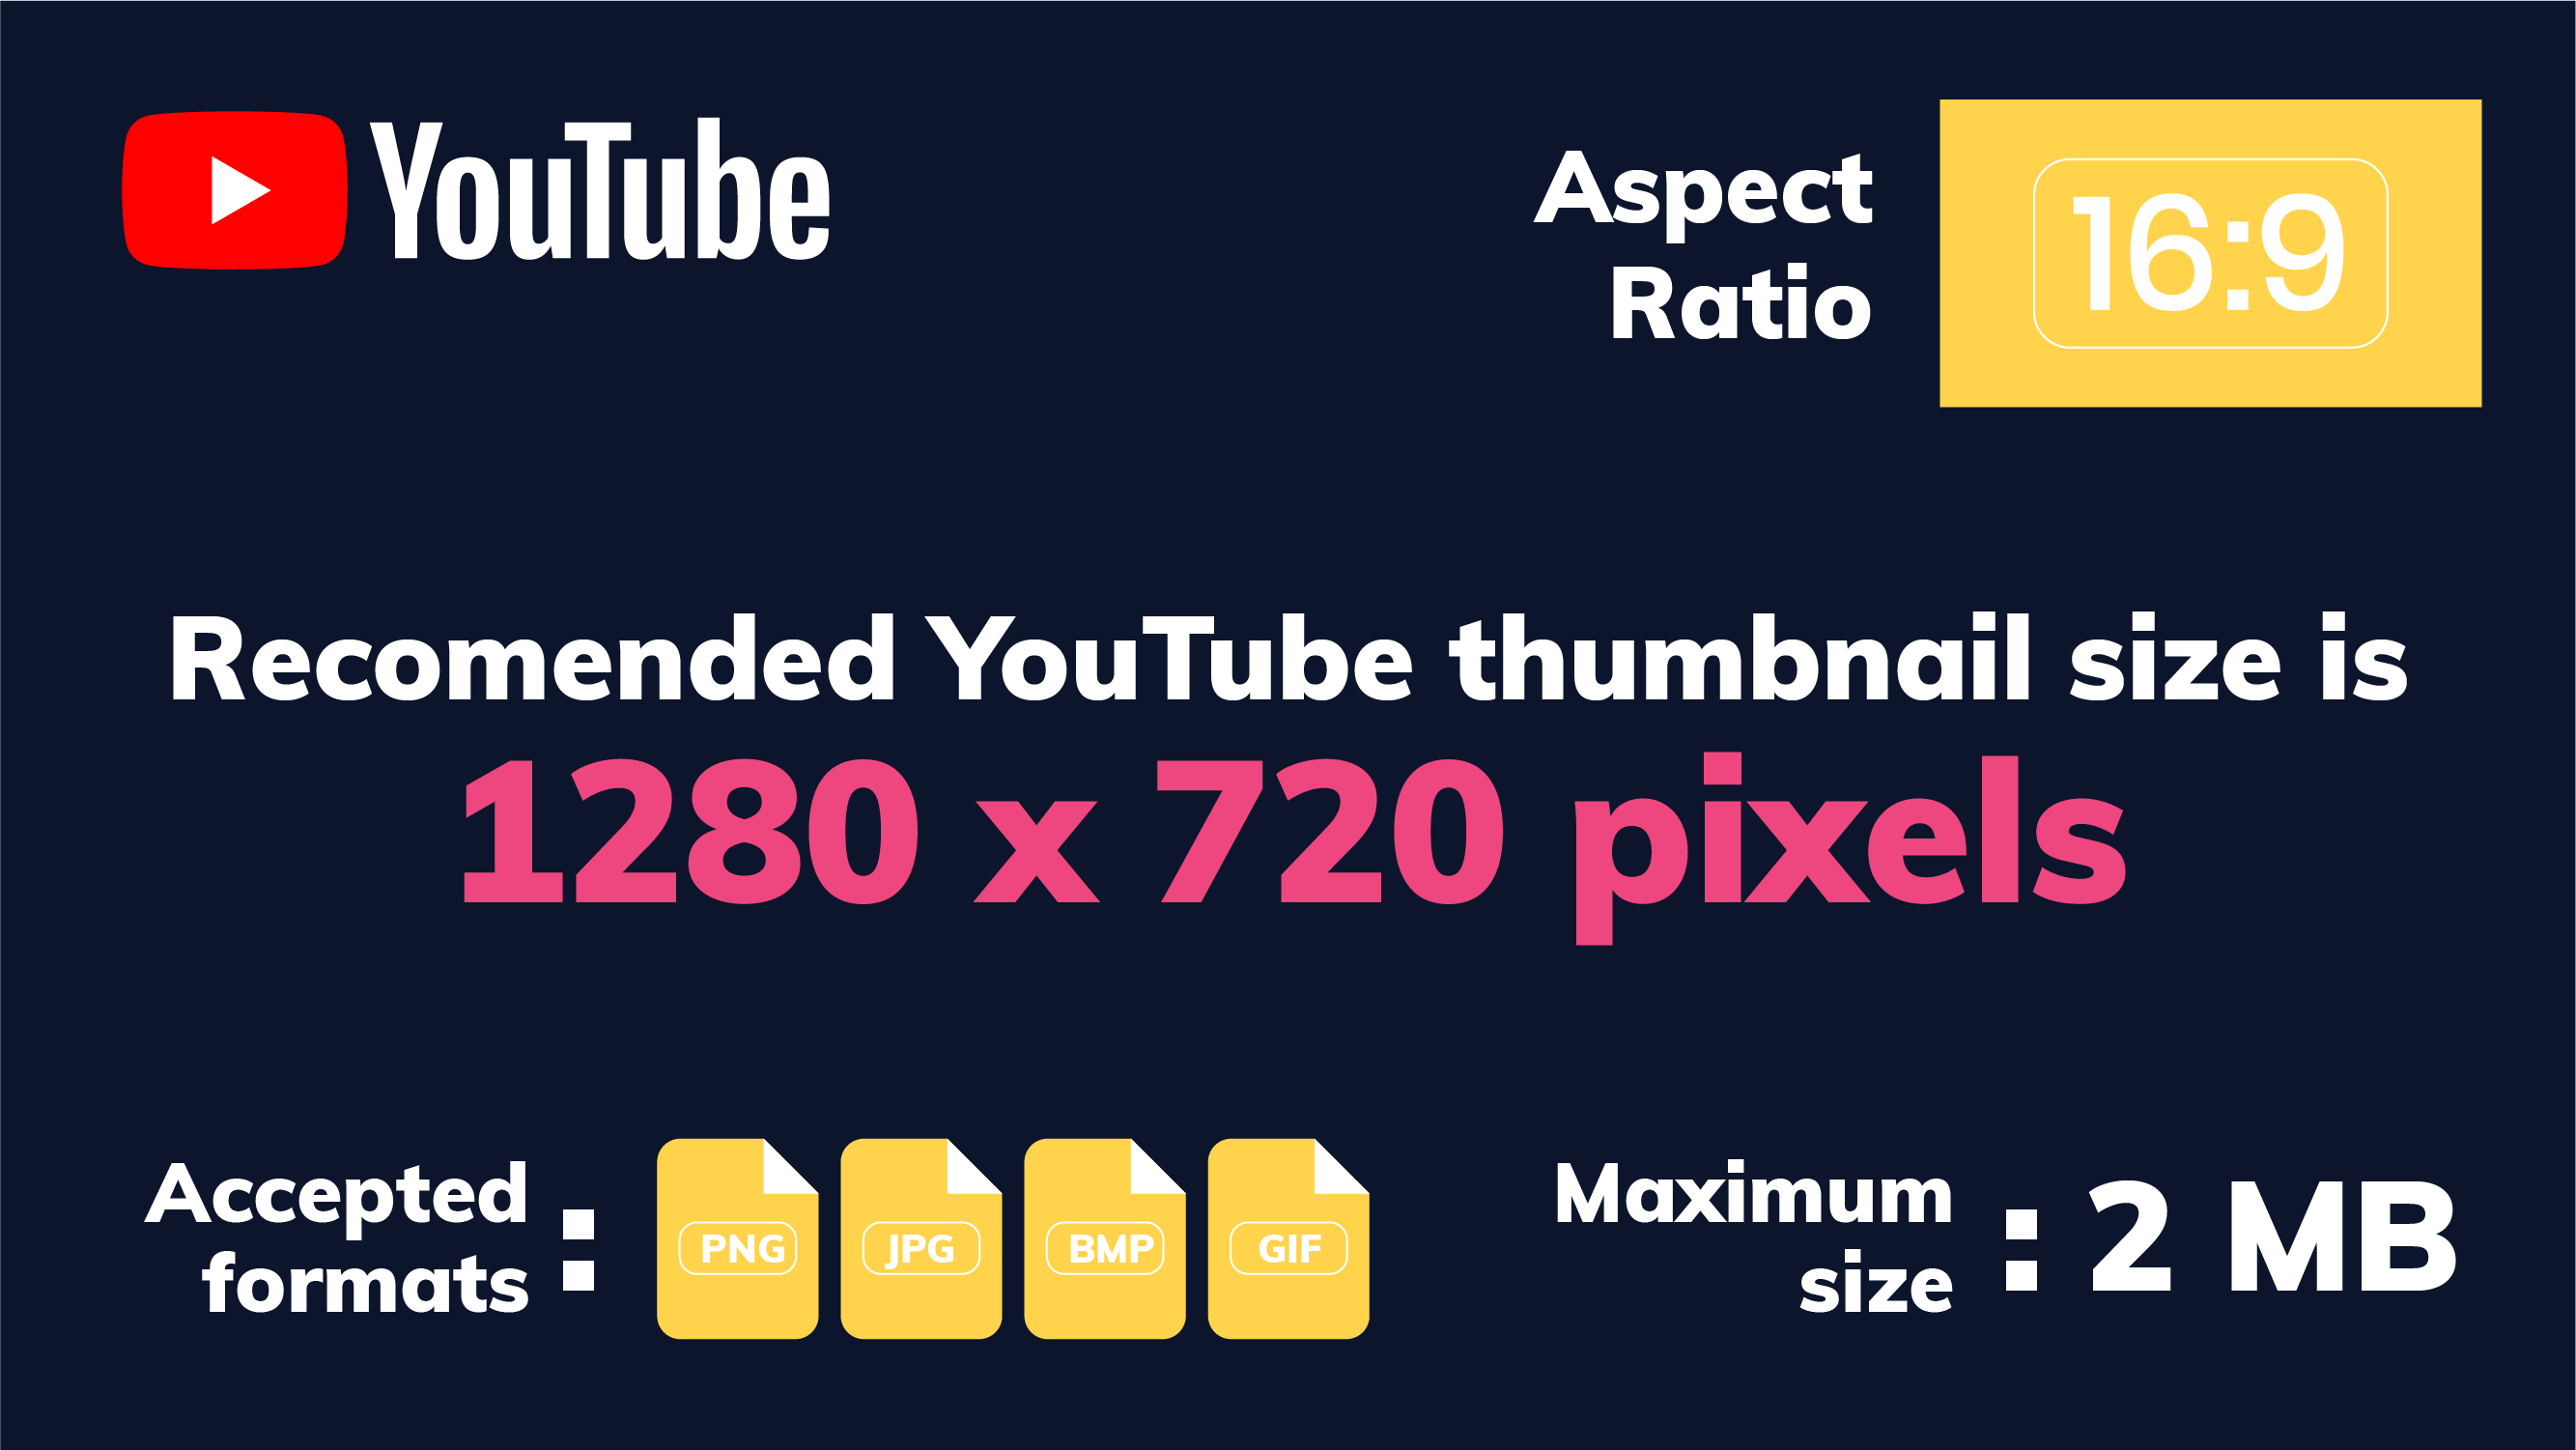
- The best YouTube thumbnail size is 1280 x 720 pixels
- The minimum width of your image should be 640 pixels
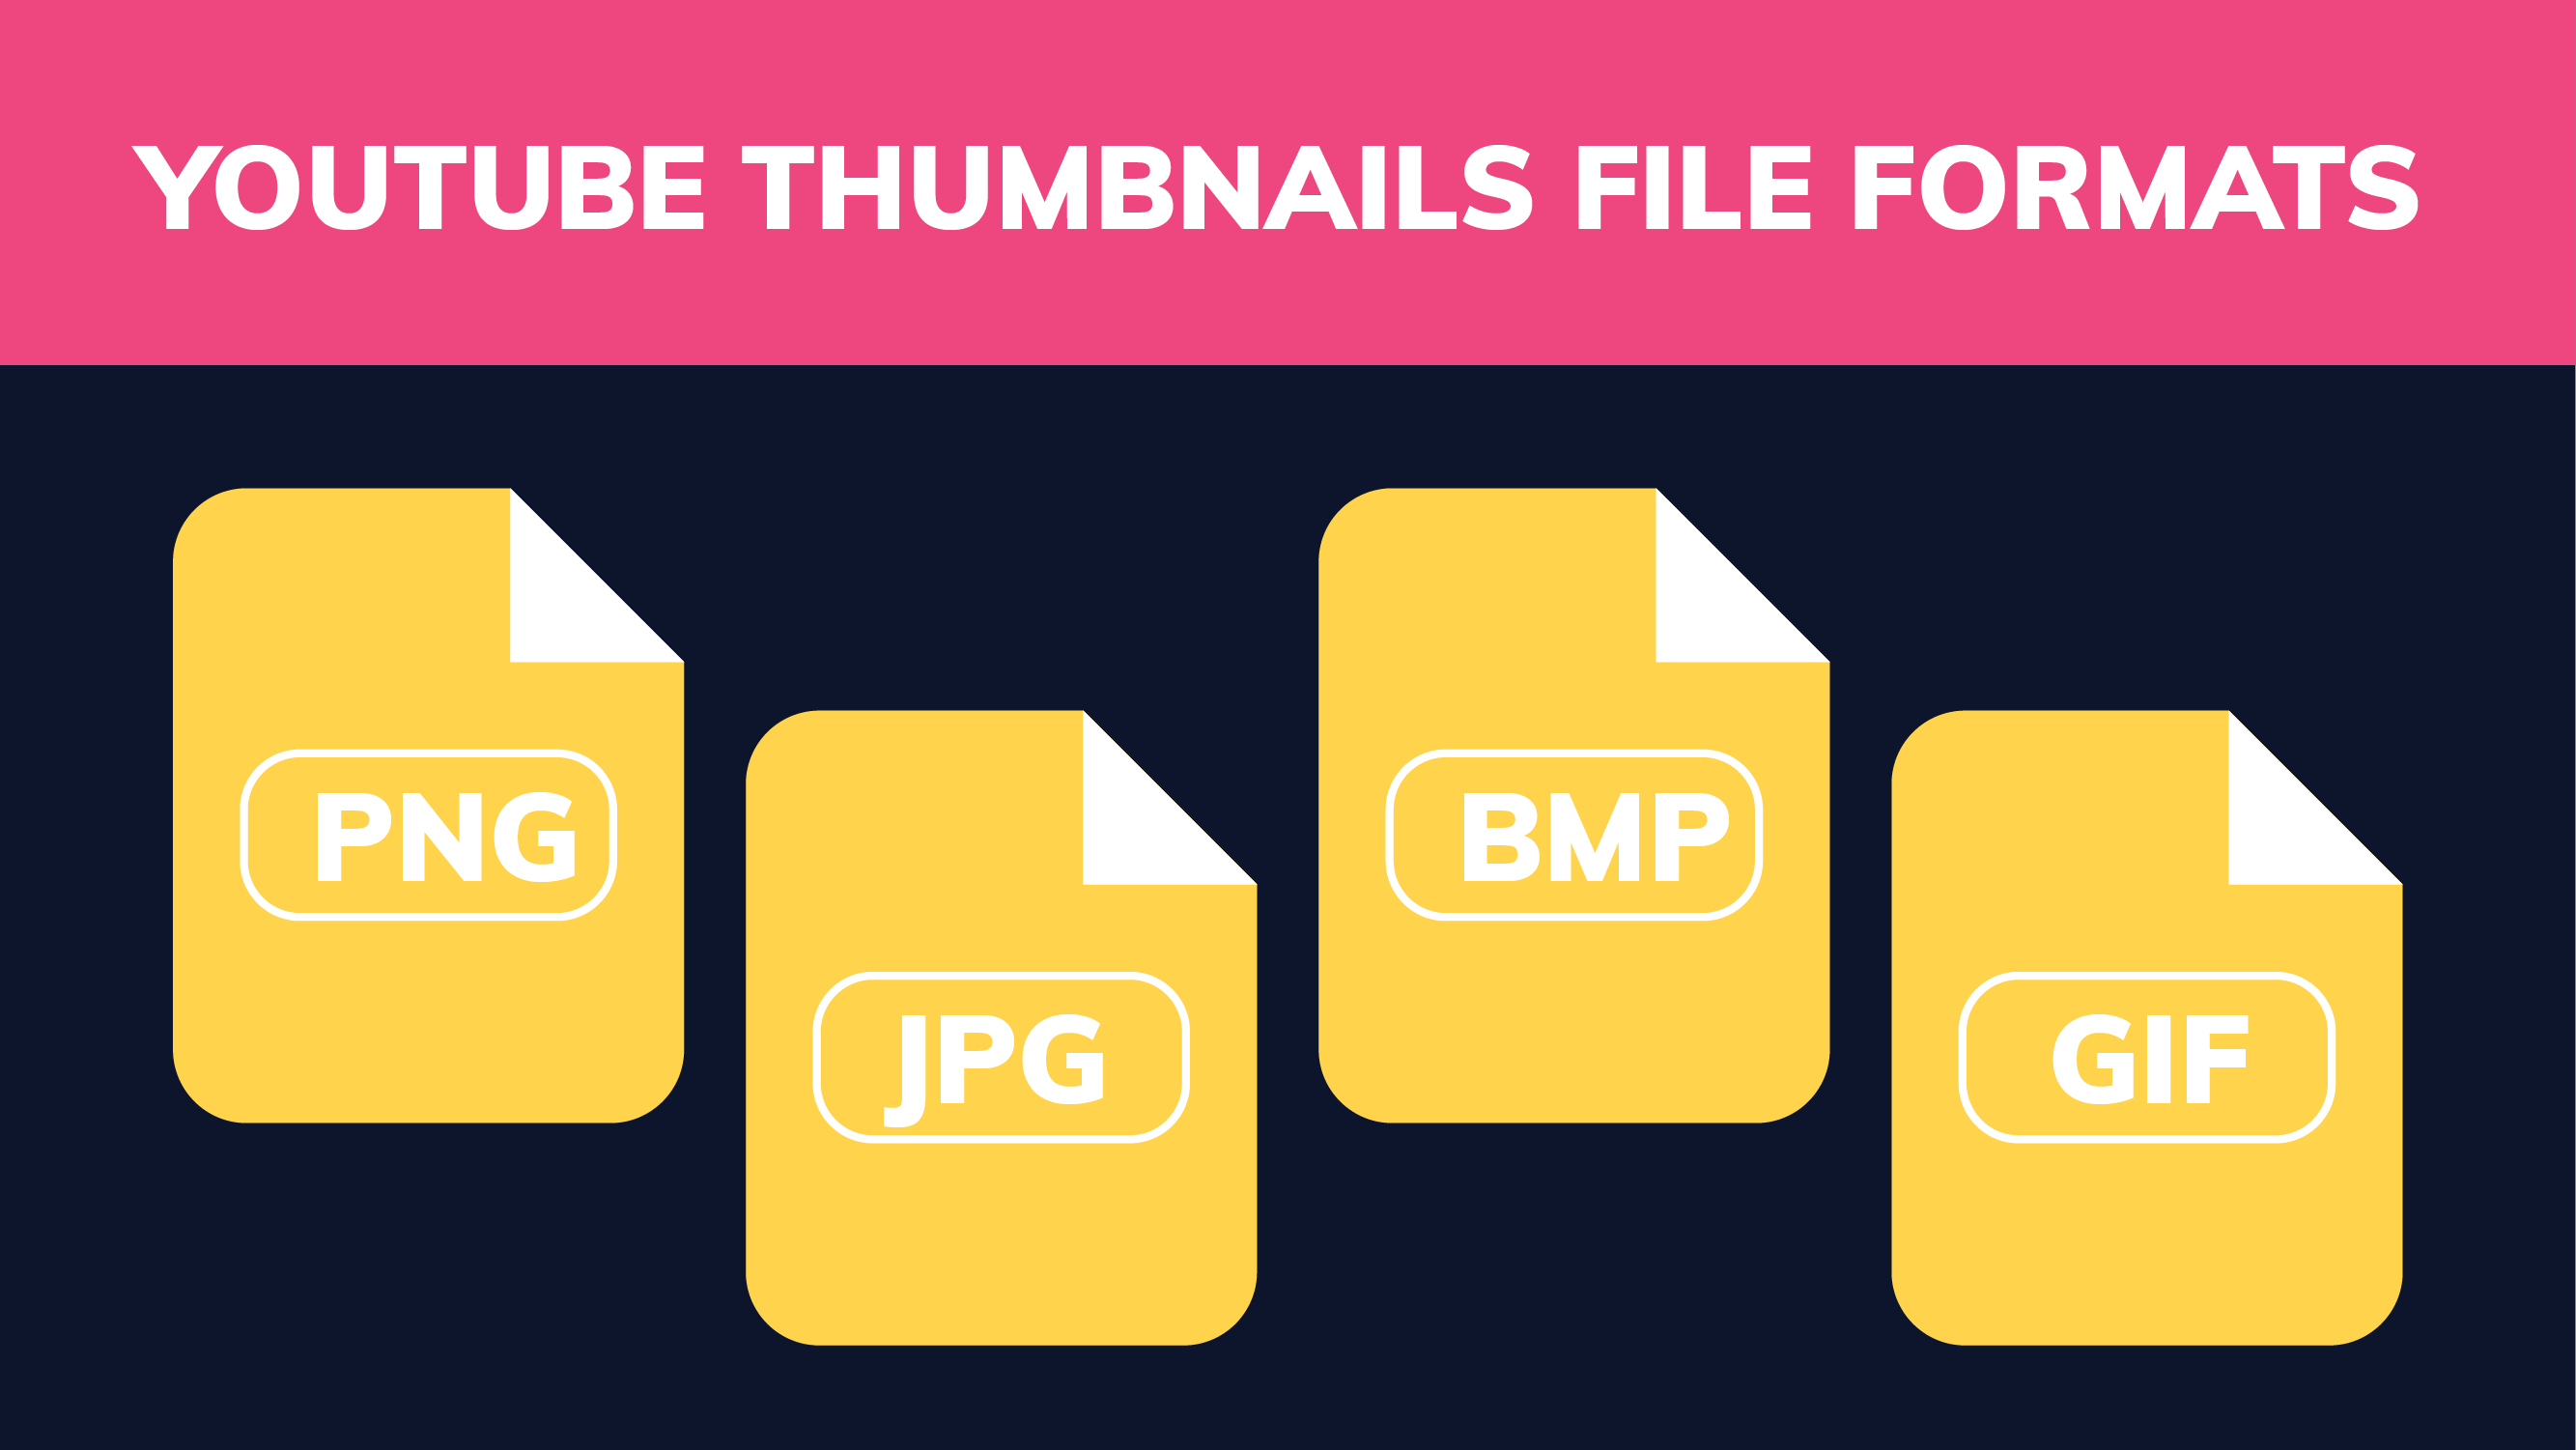
- The thumbnail image format should be PNG, JPG, BMP, or GIF
- The recommended aspect ratio is 16:9
- A custom thumbnail image performs much better than a generated one
{{AD_BANNER="/dev/components"}}
Best thumbnail dimensions, size, and formats in 2020
You might ask: what is a YouTube thumbnail? It’s the preview image of any video uploaded to the largest video platform. In YouTube’s large database of videos, it’s pretty much the thing that makes you click on a video because you have a glimpse of what the video is about.
Before we delve deeper into the creative process of making custom YouTube graphics, let’s make sure we’re covering the logistics.
-YouTube thumbnail dimensions
The best dimensions for a YouTube thumbnail image that will ensure optimal performance on any device or ratio is 1280 x 720 px. If your thumbnail has less than 1280 pixels in width, make sure it’s not less than the recommended minimum width of 640. Don’t resize it from a smaller size to 1280, cause that will destroy your quality and pixelate the image. However, if you decide to resize from a bigger size to 1280 px width in order to make sure the image loads faster, make sure you keep the same aspect ratio.

-Size limit
When it comes to image size, YouTube allows uploading a maximum file size of 2MB per image. The reason for that is because this way images will load faster, whether on a desktop or mobile device.
-Aspect ratio
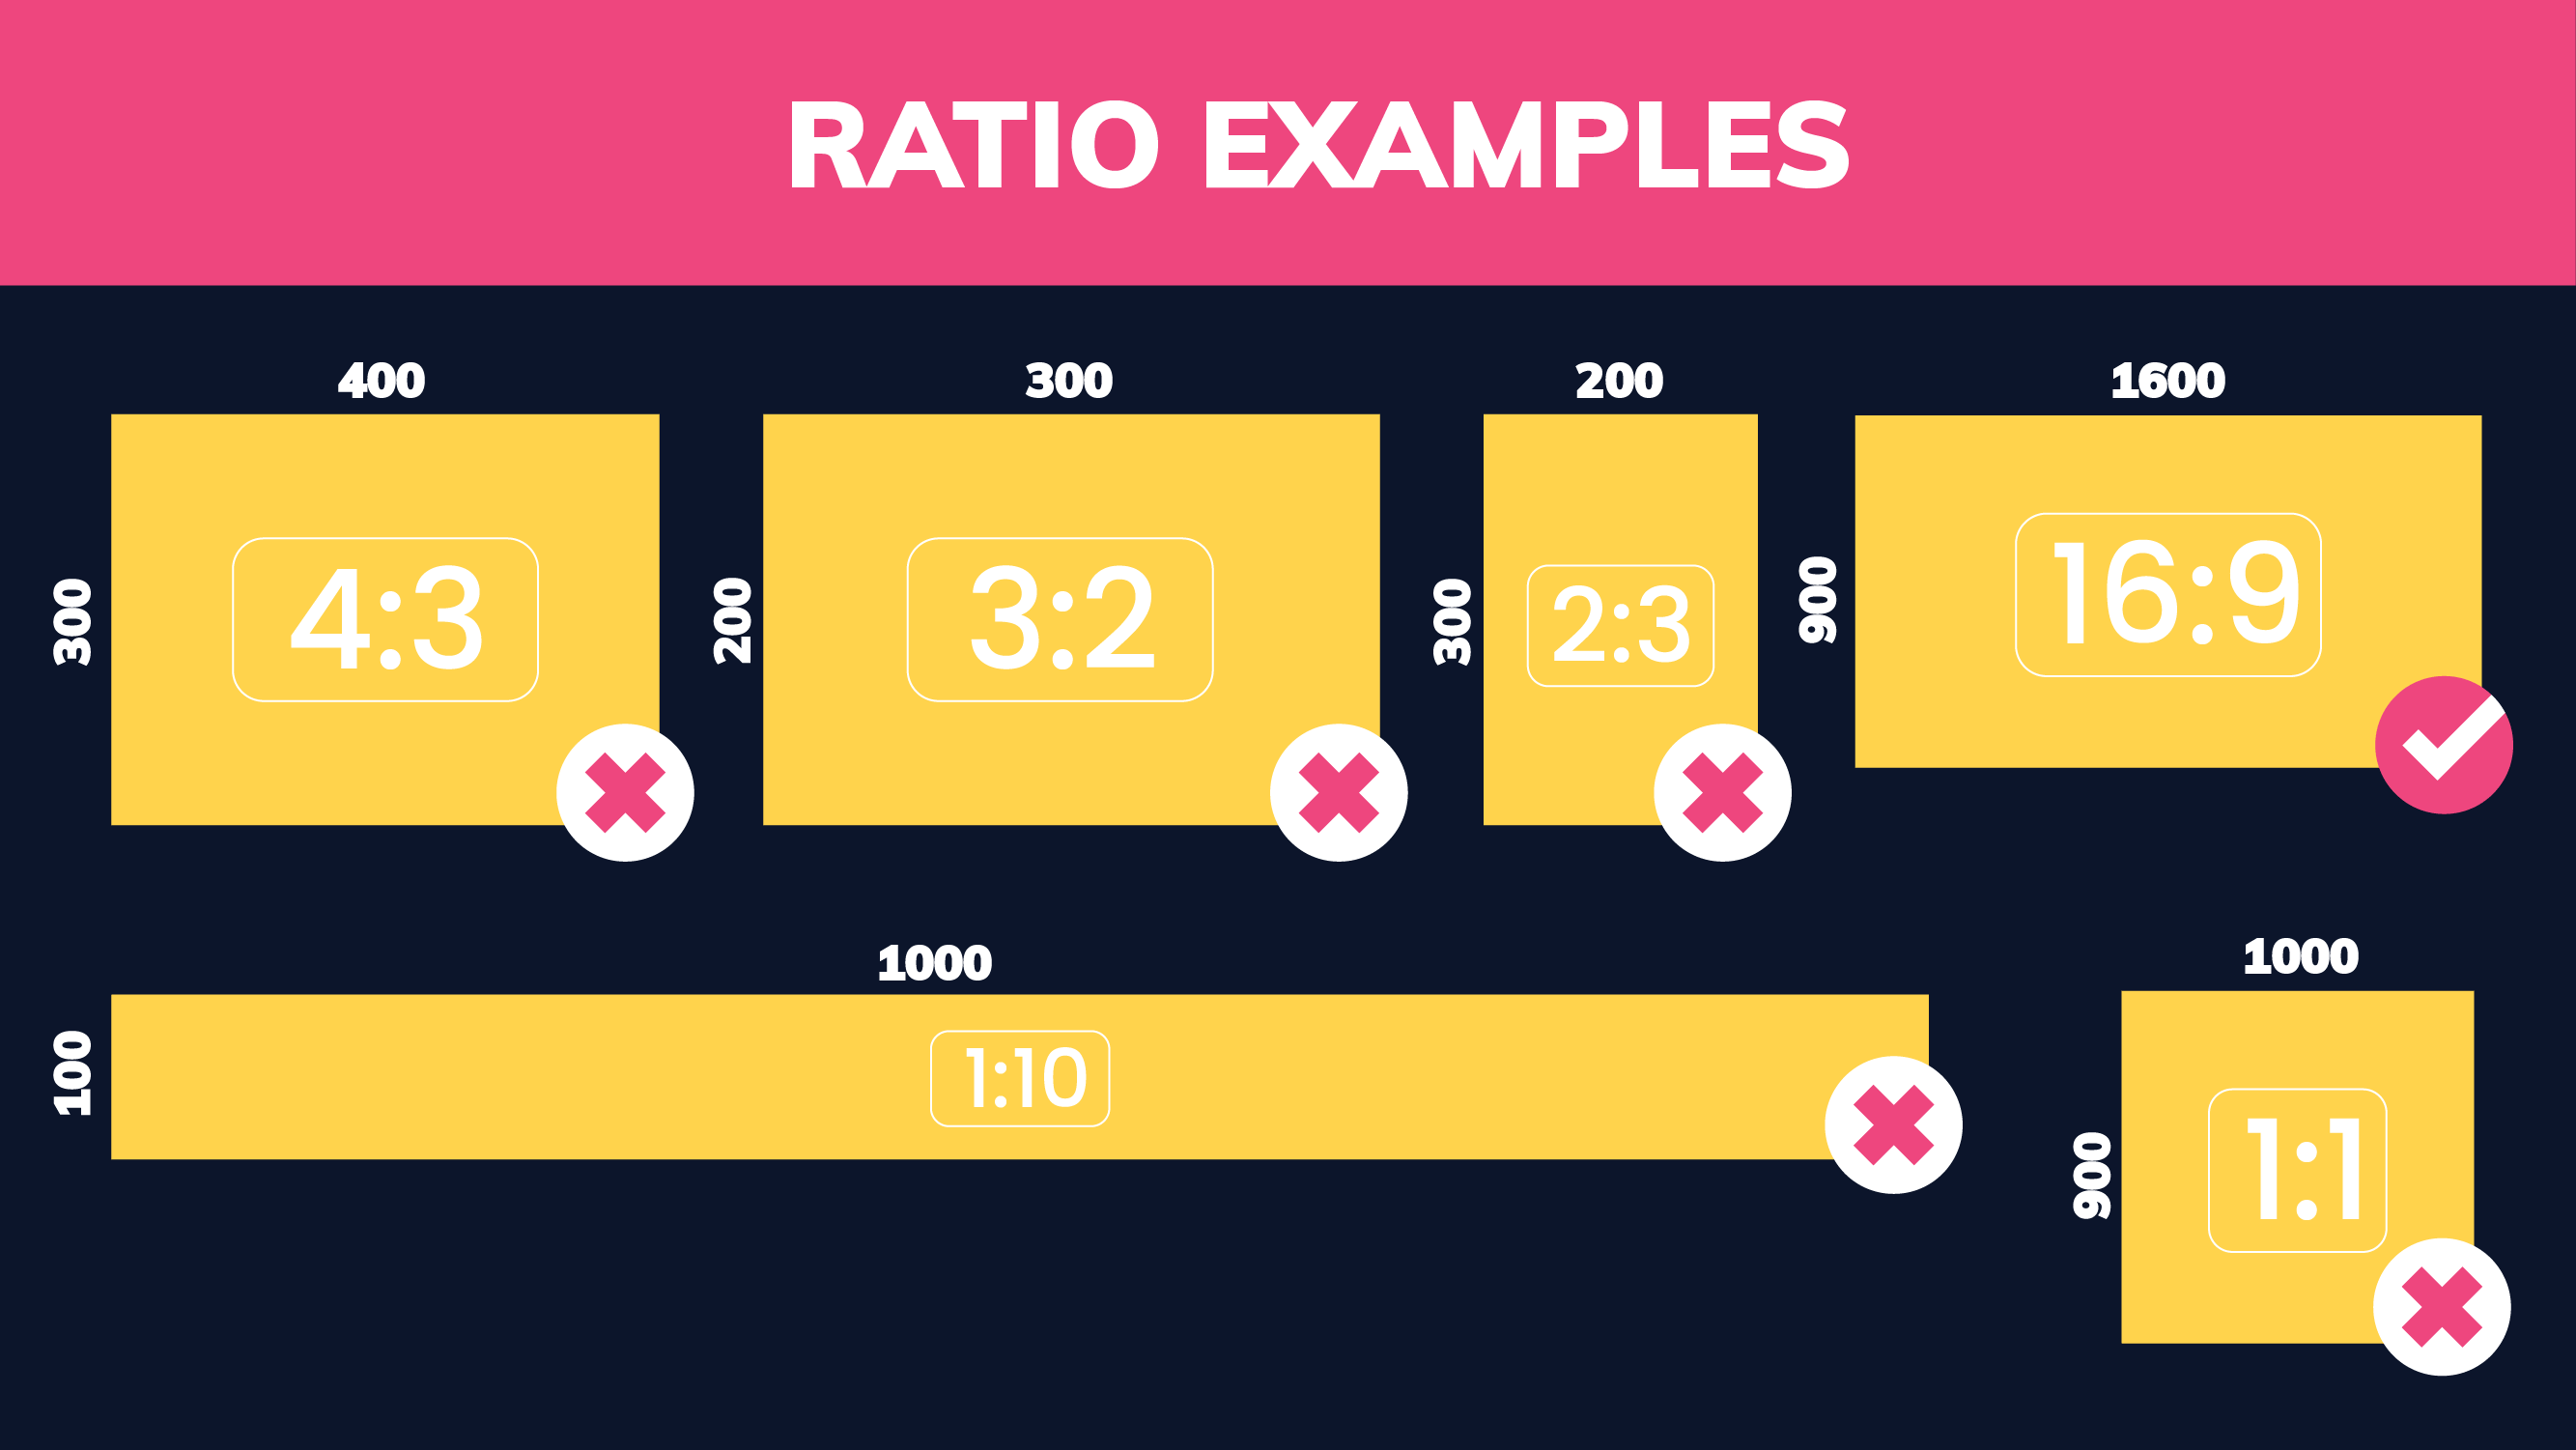
As we already mentioned, the aspect ratio ideally should be 16:9 (16 units wide and 9 units tall). This ratio allows all apps, web players, and devices (computers, smartphones, tablets) to display the video optimally. Also, when you post a video on social media, that’s the aspect ratio it’s shown in on the feed.
-File formats
YouTube supports four image file formats: PNG, JPG, BMP, and GIF. If your image is in any other format than these four file types, you won’t be able to upload it. And if you have it in a different format, don’t worry, there’s plenty of free online resizing and design tools available for this job.
Enabling custom thumbnails
Auto-generated thumbnails are often bland, unauthentic, and sometimes even blurry. So your video’s thumbnail deserves more attention and effort. Here’s how to make it possible to upload custom thumbnails on your YouTube channel.
We’ll assume that you already registered a YouTube account, and move straight onto how to turn the option on.
Step 1: Log into your YouTube account.
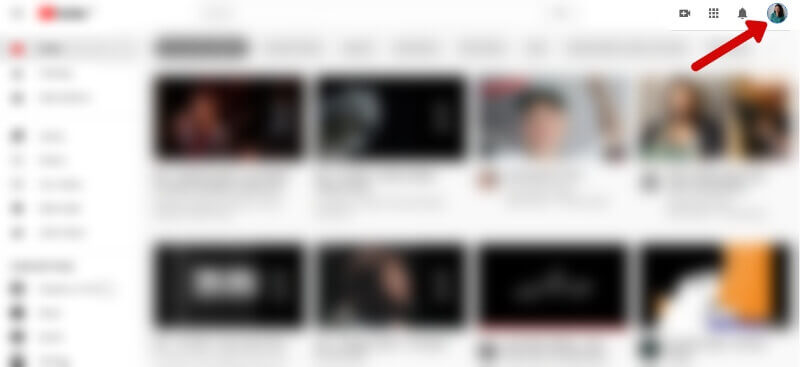
Step 2: Click on your profile icon in the upper right corner.
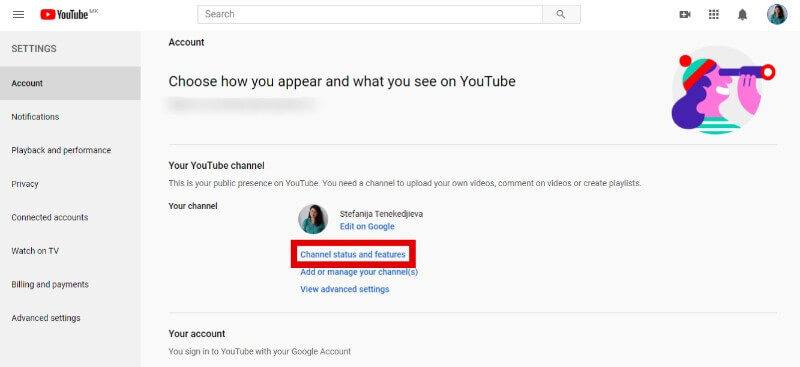
Step 4: Click the “Channel status and features” option.
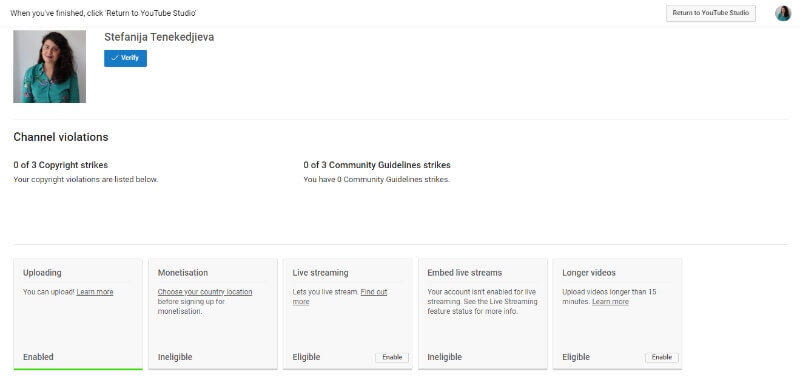
Step 6: With your verified YouTube account you should be able to upload custom thumbnails to your video content, by accessing your YouTube studio.
However, there are certain reasons why YouTube might disable your channel art, so make sure to research the YouTube Community Guidelines. Also, some search results might be inappropriate for different viewers because of age or location, so make sure to follow the rules and stay informed about all the reasons and rules.
How to upload a custom thumbnail
YouTube improved and added some changes to the Creator Studio in November 2019, and created this useful video on all the changes. Among other analytics, comment search filters, and other things, they also improved the experience with uploading videos (together with channel art and thumbnails).
First, you need to access your channel.
When you open your channel, select the “Upload Video” button to get started. That will bring you to the pop up you see on the image below, where you’ll need to click on the “Select Files Button” next.
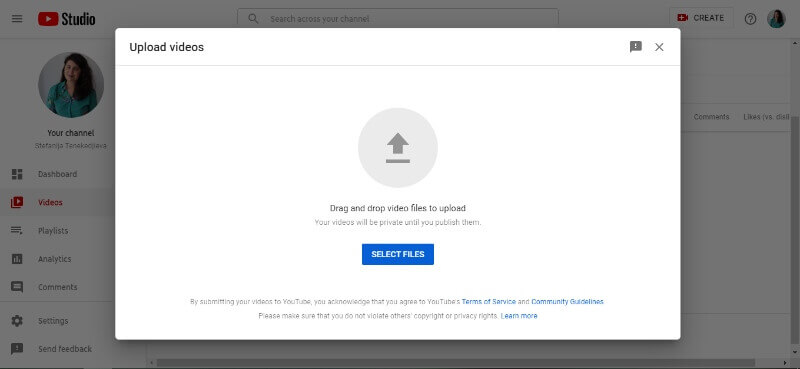
After selecting the file you need to upload, you’ll see this.
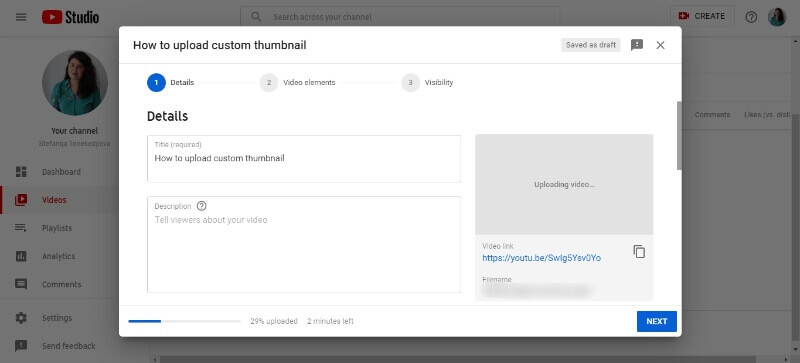
After setting up the video title and description of your video, scroll down a bit and you'll notice an “upload thumbnail” button before the automatically generated looks that YouTube will offer.
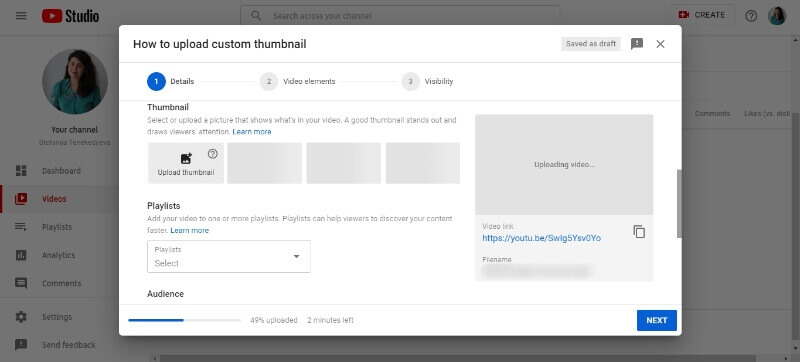
Click on the button, select the image file and that’s it! Click “Next” and make sure to apply all the information YouTube will need for your video to be uploaded, and with the right custom thumbnail, you can expect clicks coming in quickly.
What kind of custom thumbnail works?
Now that we’ve gone through the YouTube thumbnail best practices, let’s delve deeper into the actual creation of custom thumbnails. There are a lot of YouTube thumbnail templates that you can find online, but authenticity is advised. For inspiration, you can check out our list of 19 of the best YouTube thumbnails.
Here are a few approaches for making a good custom thumbnail:
Screenshot of your video
A good way to lure viewers in is to give them a peek of what’s about to come if they click your video. You can do this by taking screenshots of your video and upload them instead of using whatever still YouTube chooses for you. Make sure they’re high quality and add more details, like the video’s title (just make sure it’s not clickbait), graphics, or other. You can also Photoshop the face of a person in the video, and apply it to a different scene or background.
The reason for this is because you give them an authentic emotion or vibe that they will see in the video. People are easily attracted to click on content that is promoted by a real human face. And in the case of famous YouTubers, it’s enough to see them to feel the need to click.
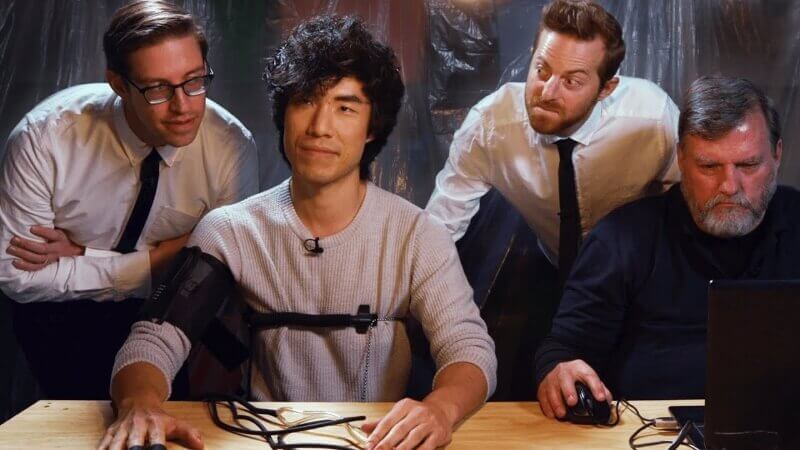
Here are examples of cool screenshot thumbnails from The Try Guys and Chris Klemens. In the first one, you already know the situation: they’re hooked on a lie detector and awkward and funny mishaps will ensue.
The second one shows YouTuber Chris Klemens doing a street interview, and as the video’s title suggests, he’s speaking gibberish to people.

Layout examples
Although screenshots have their own charm and authenticity, an already prepared photo is also a great approach. It gives you more creative freedom and enables you to create perfectly fitting, high-quality thumbnails with more information on them (video title, date and time, etc.).
Also, video thumbnails with a still photo layout also look more professional and appealing, if it’s a webinar, tutorial, or any educational type of video.


Photos
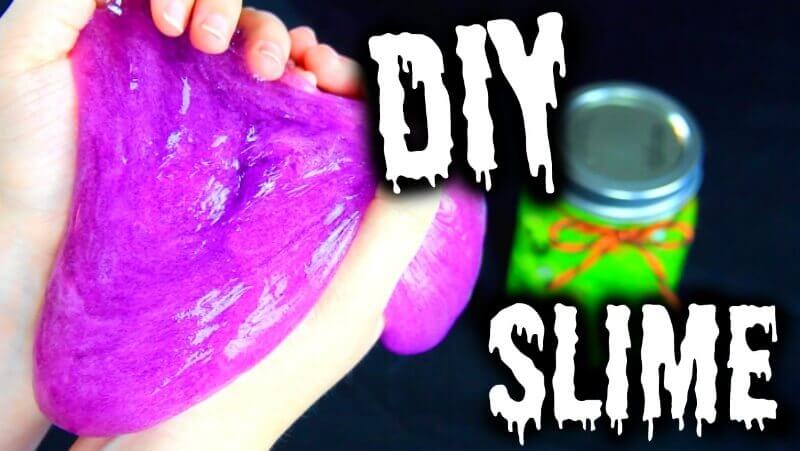
When it comes to DIY, cooking, fitness, or similar channels, the video usually has some kind of helpful or educational purpose. You’ll watch the video and create something by following the YouTuber’s steps. So in this case, a photo of the final product is a good choice for a thumbnail.

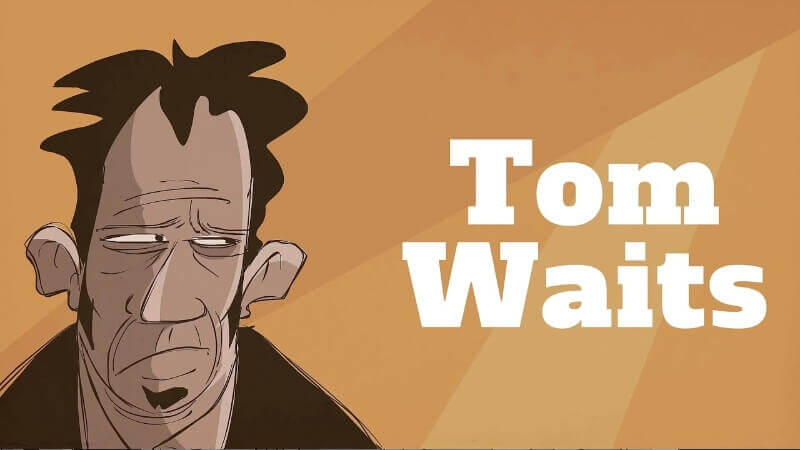
Illustrations make great custom thumbnails
Illustrations also make great thumbnails but need better production and much more effort. Although there are free illustrations you can find online, creating a unique one to fit the video is advisable. They go well with storytelling videos, or quick critical bites (channels like Blank on Blank, Ted Ed and The School of Life are completely animated).

Free thumbnail makers
If you’re not well versed in Photoshop and Illustrator, there are fortunately many free online thumbnail makers. There are a lot of cons, such as limitations, high chances of someone else using the same layouts as you do, lesser quality, etc. Still, it can be useful if you’re an up-and-coming video creator who can’t afford a professional design service yet.
Some of the tools you can use are Canva, Snappa, Crello, Visme, Picmaker , Fotor, Bannersnack, and others. Or, the team at ManyPixels might help with affordable unique designs for your channel’s needs.
Journalist turned content writer. Based in North Macedonia, aiming to be a digital nomad. Always loved to write, and found my perfect job writing about graphic design, art and creativity. A self-proclaimed film connoisseur, cook and nerd in disguise.
A design solution you will love
Fast & Reliable
Fixed Monthly Rate
Flexible & Scalable
Pro Designers


.jpg)

.jpg)
