.jpg)
Figma to Webflow: How It Works
It’s a lot trickier than it looks - buckle up as we explain how to convert a site from Figma to Webflow.

.svg)
Wondering how to convert Figma to Webflow? Buckle up as we guide you through it, step by step.
Webflow is one of the most popular website builders, in large part due to its customization options compared to the alternatives, such as Wix. However, Figma is the superior web design tool. It has much more robust customization and collaboration options, and its functionalities extend beyond web design to different types of graphic design, such as branding, social media, and more.
{{WEBSITES_PORTFOLIO="/dev/components"}}
Designing in Webflow is a lot more difficult, as the focus of this tool is on web implementation rather than design.
Want the best of both worlds? Here’s how to convert Figma to Webflow.
Figma to Weblow: manual conversion
If you want to import Figma to Webflow, here are the steps you need to take.
1. Prepare your Figma design
Figma is your source of design truth. In order to create a working site on Webflow, you need to create the necessary structure in Figma.
When creating elements of the website, you’ll need to define the following things:
- Layers: Ensure layers are named clearly and grouped logically. This will make it easier to identify components when recreating them in Webflow. These can be, the pages of your site.
- Use Frames for Sections: Design each section of your website within its own frame to simplify the layout translation. Frames are the elements of a page such as buttons, images, text boxes, etc.
2. Export Assets from Figma
Once you have everything ready in Figma you can select all assets (from the sidebar on the left, or by dragging and selecting), right-click and then choose Export.
If you’ve used custom fonts, you should also download these and upload them into Webflow.
3. Set Up your Webflow project
Choose a blank template. In the Style menu on the right side, you can now import any custom fonts you wish to use. You can also use the Style section to define colors, borders, effects, or any other
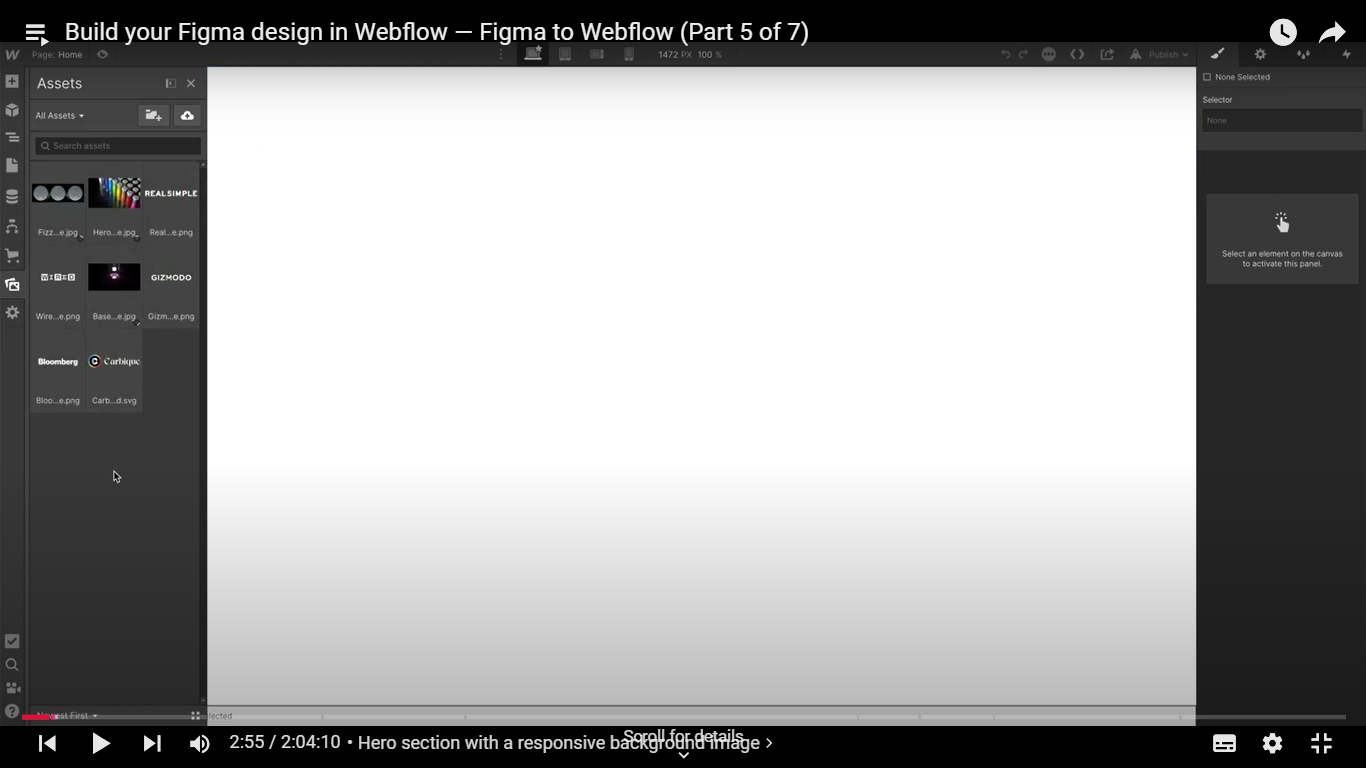
Drag and drop all of your assets into the project, and everything will automatically be uploaded into the Assets panel on the right.

4. Recreate Layouts
Start by building the Webflow website’s structure section by section. Here are the Weblow terms that you should be familiar with
- Sections: Sections are the largest structural units, such as a hero section, footer, features, etc. You can add a section to your site by going to the left-hand side Navigator section, click Add Elements, and then Section. You can then add assets exported from Figma to the section as you please.
- Div Blocks: These are the smaller structural unit, for example Sections. They can also be buttons, images, text blocks, etc.
- Containers: A container is a div block with predefined styles that help you create responsive layouts. It has a max-width of 940 pixels on desktop and 728 pixels on tablet, along with left and right auto margin to keep your content centered relative to the browser window. You can use it to wrap content, such as images, or text, and to keep margins and padding consistent across the board.

5. Add Interactions and animations
This is the main difference between Webflow and Figma. While Figma allows you to create high-quality prototypes, you’re limited to static designs. With Webflow you can add animations like scroll effects, hover effects, or page transitions.
6. Test and refine
Check your site across different devices and screen sizes in Webflow’s Preview mode. Use the preview to fix any issues, such as misalignment or broken styles.
7. Publish the site
Once satisfied, publish your site directly through Webflow or export the code for hosting elsewhere.You can publish the site for free with a webflow.io domain, or pay a subscription to use a custom domain.
Using the Figma to Webflow plugin
Is there an easier way to convert Figma to Webflow? As of 2024, there’s now a Figma to Webflow plugin that makes the conversion process a lot smoother.
While you don’t have to use one method exclusively (you can still adjust things manually) this plugin will save you a lot of time and effort. Here’s how it works.
1. Define components and variables
Once you have this structure you need to define the Components and Variables. These are elements that appear throughout the site, so that you can easily reuse them.
For example, a CTA button can be a Component, and the Variables attached to it are its color, border, shape, etc. It’s useful to create a style guide (you can also use Figma for this) that you can use as a reference.
To create a component simply right click on the frame and select Create component.
2. Copying content with Figma to Webflow plugin
Go to Figma’s Plugins menu, search for "Figma to Webflow," and install the Figma to Webflow plugin Follow the instructions and connect your Webflow account.
Open the copy/paste tab and select frame(s) to copy.
Go over to Webflow, and paste the design with a simple “control + V”.
3. Syncing changes
Remember the components and variables? This is where moving a Figma design to Webflow really pays off.
Head over to the Figma plugin and select the Design System Sync tab. Select the website you’ve connected previously.
Next, open a new tab on your browser and go over to Webflow and find the Apps tab, located in the left-side navigation menu.
Once you use the plugin and app to sync changes, you’ll notice that the entire Figma structure is copied on to Webflow. So, if you make a change to your Figma component, the Webflow component will reflect that
If you want to change a variable across the board, you can easily do it in one click, and the entire Webflow site will reflect this change.
Make sure to use auto layout, for all your elements in Figma, otherwise the sync won’t work.
Figma and Webflow pros in one place
Hopefully, this sheds some light on how to convert Figma to Webflow. While it’s definitely not the most difficult thing in the world, using all the functionalities of this option will require a lot of learning.
So much so that many people give up watching countless Figma to Webflow tutorials, and opt for a template instead.
If you want to get a custom site that’s all set up and ready to use in Webflow, you’re in the right spot.
With ManyPixels you can pay a flat monthly fee and get a professionally designed site, along with any assets you might need, like illustrations, motion graphics, icons, and more. Unlimited revisions are also included so you can get everything 100% to your liking!
Add a Webflow development add-on to your subscription, and we’ll move your Figma prototype to Webflow for a fully functional site that you can use and edit as you please!
Have any questions? Get in touch with us for a free demo on our design and development services.
Having lived and studied in London and Berlin, I'm back in native Serbia, working remotely and writing short stories and plays in my free time. With previous experience in the nonprofit sector, I'm currently writing about the universal language of good graphic design. I make mix CDs and my playlists are almost exclusively 1960s.
A design solution you will love
Fast & Reliable
Fixed Monthly Rate
Flexible & Scalable
Pro Designers


.jpg)
.jpg)
